Pages

Friday, June 18, 2010

Nasturtium salad

 I love looking at decorative flower gardens but I cannot justify the time and water used to maintain them without getting something else back.  So in my decorative area I plant edible flowers.  Anything in the vegetable & herb section of the greenhouse works for this.  Different seasons have different flowers and a lot take a bit longer to get to the flowering stage.

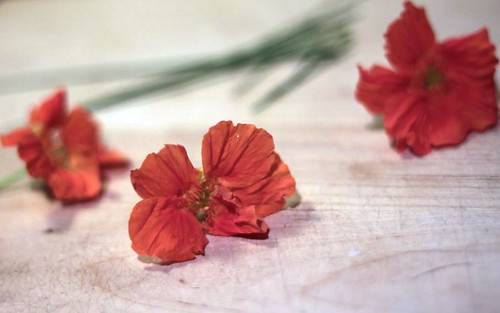
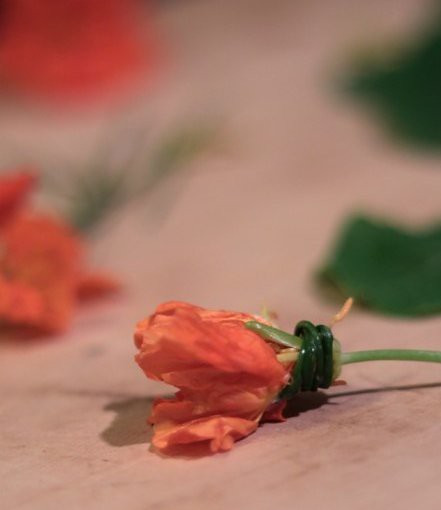
My favorite edible flower is hands-down nasturtium.  They grow quickly and with bad soil and little water.  The leaves and flowers are edible and they are just so pretty!

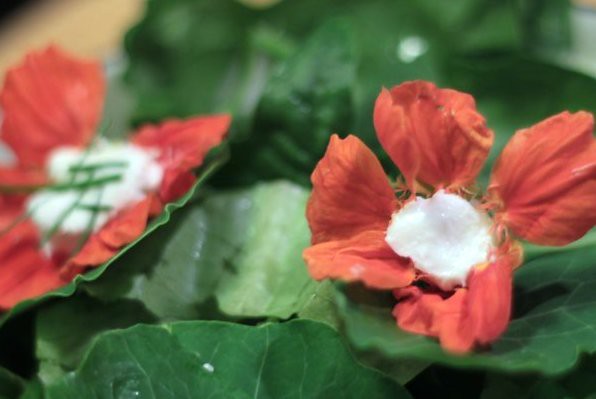
One of the easiest ways to make a delicious and beautiful salad is to add these flowers.  Whenever I have to take a salad dish to a gathering I make a garden salad with some nasturtium blooms on it.

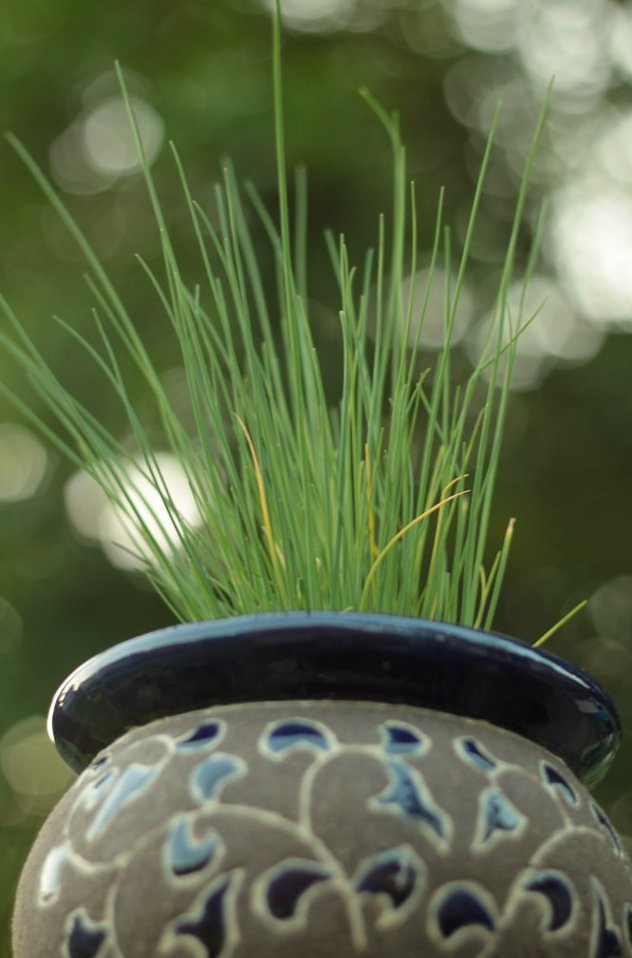
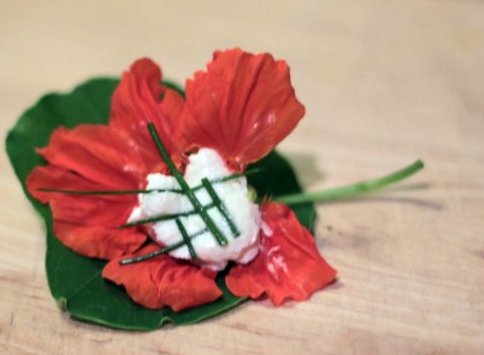
I like putting a bit of cheese into the middle of the bloom and adding some chives by wrapping them around, laying them on top or dumping them all over.  These chives are now three years old and still going.  In zone 5!  They are very hardy and over-winter in my dark garage.


In this case I used mascarpone cheese because that buttery taste went well with the older greens that I cut from my garden.

Seriously, you can use a utensil but I used my fingers.  It didn't take long and you can be a little bit creative.


Thursday, June 17, 2010

Felt-o-rama Week 1

Sorry this post is a day late. . .  Yesterday just got away from us!  My first felt project is an iPhone/iPod case.

My little brother (who is not so little anymore!)  recently had a birthday.  I wanted to make part of his gift, but it is hard to think of sewing projects for young hip men. 


A few months ago Meghan and I volunteered at a fundraiser for an elementary school.  The idea was that you brought old clothes and sewing notions with you, and then you could look through piles of other people's donated clothes and find items to refashion.  Then there were sewing stations and helpers (this is what I did) to help you refashion your items right there.  They also had dyeing and screen printing stations.  Then there were some project tables geared more towards children to help them make a simple craft or project.  One of the stations was to make iPod covers out of felt.  I was impressed by how simple they were, yet they turned out looking adorable!  So when I was trying to come up with a birthday gift for my brother I thought of these cases.  He just recently got a new iPhone, so I thought this was the perfect gift.  The ones that I saw at the fundraiser were more feminine, but I figured that I could make them masculine.  My first step was to consider his interests.  He is currently studying architecture at a school in Chicago, and he is the co-host of a radio show on their school's radio station.  So I came up with two different cases for him.  I tried to keep both the subject matter and the colors masculine.


For his birthday I gave him an iTunes gift card and the two iPhone covers.  A perfect themed gift! 

If you would like to make your own iPod, iPhone, camera, phone, etc... cover it is very simple! I thought about making a tutorial, but this project was pretty easy, so I thought that a step by step list would be specific enough. 

1.  Draw a sketch of what you want to be on each side of the case.  You can make them each different, or make them both the same! 


I wanted to make the Chicago skyline on one side, and a closeup of the Willis (aka Sears) Tower on the other side. 


For my other case I planned headphones on one side, and a turntable on the other. 

2.  Measure the phone or iPod that you are making the case for.  Remember to measure the width.  For each side I took the side's measurement (example: from the top to the bottom) and then added 1/2 inch for a seam allowance, and the of the width of the phone.  That number is the measurement I cut for the length of the cover. 


3.  Measure and draw two rectangles with these dimensions onto a piece of paper and cut out your rectangle.  This will be the front and back sides of your case.  

4.  Draw your design on each paper rectangle.  You can either draw it freehand or print a photo or graphic from your computer and trace it onto the paper.  Remember the more basic the shape you choose the easier it will be to cut and sew! 


5.  Choose what colors you want to use for your case.  This is the fun part!  Pin the paper to the felt color that you want to use for your background and cut out the two felt rectangles. 

6.  Cut out your paper designs and pin them to the felt color that you have chosen for the designs.  Cut very carefully around the paper. 


7.  Center the design however you choose to the front and back pieces of your cover and sew them in place.  You can sew by hand or on your machine.  If your design has a lot of curves or corners it might be easier to sew by hand.  It will probably be a lot faster to sew with your machine, but I think that it adds a certain character to the finished product if it is sewn by hand. 


8.  Line up your front and back sides with the designs facing out (wrong sides together) and sew around three sides leaving one of the short sides open to slide the iPod in and out.  I originally planned to sew down my designs by hand, but then use my machine for the seams around the edges, but the hand sewing looked so cute that I decided to do the whole thing that way!


That is it.  Done!!

- Laura

Wednesday, June 16, 2010

Growing Vertically

Though I have a bit more than half a yard out back, a lot of the space is in full shade.  To make the best of what space we have, we decided to grow our potatoes in a container that grows along with them.

We took four long stakes for the corner pieces and a bunch of cedar boards for the sides.  As the potatoes grow up we pile the dirt up around the stems and then they grow some more and we add another cedar plank.


Here is the potato planter a few weeks after planting.  You can see that we had to quickly add two more boards!


This one is after the fourth board was added.  Henry loves to help pile on more dirt to the potatoes.  It's a great toddler crop!

One thing that I am really excited about is that since we used small screws to put this together, we can simply unscrew one of the bottom boards and begin harvesting potatoes from the ground up.  We don't have to wait until they are all brown and dying back before dumping out a container.  

This particular planter is growing on the north side of our deck next to where we grow moss, actually.  It's getting about 6 hours of morning sun and growing like crazy in a space that we never really used before.

-Meghan

Monday, June 14, 2010

Gutter Garden

I live in a condo with a small balcony.  For the past two summers I have tried different methods of growing tomatoes on my balcony.  There is just nothing like homegrown tomatoes!  After having no success I finally accepted the reality that my balcony faces north so it does not get enough sunlight for tomatoes.  So this summer I tried to find some items that might fare better in less sunlight.  I chose yellow squash, green beans, and lettuce.  I am also growing a variety of herbs inside on my windowsill.  I will tell you more about those in a later post.  Today I will focus on the lettuce.  How to grow lettuce in a very small space?  My sister sent me the link to this great solution from apartment therapy.  It seemed like the perfect solution for me.  A garden planted in a gutter! 

I bought all of the materials, drilled some holes in the bottom for drainage, and then hung the gutter on the outside of my balcony's railing (for maximum sun exposure).  I filled it with potting soil and planted a mix of different organic lettuce seeds.  In about  a week I started to see small sprouts. 


Then disaster struck!  When it rained the water collected on the edge of the balcony above ours and came down in large drops on the side of the gutter.  All the dirt was splashing out of the gutter and all over my railing. 


Here you can see the empty areas on the left hand side. 


So I went back to the hardware store and looked for something that I could use as an awning to block the raindrops without blocking the sun.  I came home with a piece of aluminum siding.  I strung wire around the brick columns on each side of the balcony to suspend the piece of siding.  Here you can see the gutter at the bottom and the awning running along the top. 


And amazingly it worked!  I had to fill in the empty spots and replant a few seeds, but then the lettuce started to grow. . .


And grow. . .


And grow. . .


This weekend I was able to pick my first batch of lettuce. 


I added some almonds, feta cheese, dried cranberries, and balsamic vinaigrette and had a delicious salad for lunch. 


-Laura

Solitude

I Heart Faces is having a baby week.  But sometimes babies just need their space.


Sunday, June 13, 2010

Rainy Day Activity: Packing Peanut Sculptures

Only five days into my summer break and it's already raining.  What a bummer.  I am thankful every single day that I have a cute little kid to play with, but sometimes we play with every single toy in the house and then I look up at the clock and it's not even lunchtime yet.  Making it from that good mood morning stretch through the tired naptime (mine, he is starting to think he's too big for a nap) can be hard.


Earlier this week I got a beautiful package from Pigeon Toe Ceramics, it was a prize I won from entering a raffle to help fun an accessible bathroom for Liam who has Spinal Muscular Atrophy.  Accessibility and disability issues are a big deal to both myself and Laura so I was happy to buy a ticket even without winning.

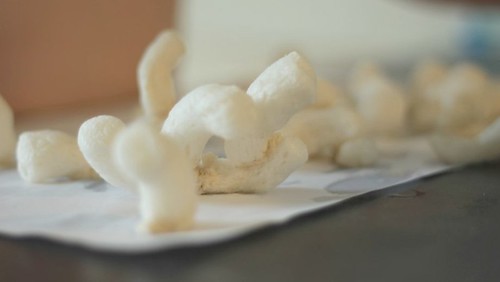
Anyway, there were some biodegradable packing peanuts in the box with the cute bowl I won.  I put them out in the garage and decided to pull them out when I really needed something to do.

So, it's really easy to make sculptures with these corn-based peanuts.  When they touch water they get really sticky.  Just dip them in water and then stick them together.  Then, once you're done you can just compost the whole art project.  Unless, of course you make something outstanding!


Saturday, June 12, 2010

Weekend Reads: "The Last Child in the Woods."

In general, I am not a fan of parenting books. To me, parenting is something that I learn through experience, not by reading. Yes, specific books can be helpful and I certainly turned to some in the early days of parenting.  But as a rule, I learn by doing, not by reading.  Though I do read a lot!

This book was different to me.  I have read it a time and a half now.  It just seems to be speaking truth.  The chapters read like short stories and most of the time I spend reading it I am reminiscing about my own childhood.  That's one of the things that makes this one an "OK parenting book" to me.  You don't have to be a parent to enjoy it.

The premise is as we move more into a modern age, we are taking our children and ourselves out of the natural environment.  Both children and adults are missing the sense of wonder and open-ended discovery provided by nature.  Everyone can learn from just being outdoors and the concepts and research are applicable to adults as well.

Basically, this book made me want to plan my next backpacking trip. (And I gave myself bonus points for reading this outside yesterday morning).