Pages

Showing posts with label toddler. Show all posts

Friday, February 11, 2011

Happy Birthday Mary!!

Mary recently celebrated her second birthday. A perfect excuse for a project! For her gift, I bought a few items and made a few as well. Unfortunately, the sizing did not work out too well. I was super excited to get her these Tom's Shoes that my sister had been eyeing for a while but was unable to find at any stores (and sold out online). My sister loved them... Until she tried to put them on the next day and they were so narrow that they would not even go on Mary's feet! Odd though because all the reviews that I read online said that they fit great. I guess maybe Mary has wide feet. The good news is that they were able to exchange the shoes for a larger size that fit just fine.

Now, on to the handmade items... I used two different tutorials from Dana over at Made. First I wanted to try an up-cycled shirt dress. Unfortunately, my husband did not have any dress shirts that he needed to get rid of, so I went to the Goodwill instead. I bought two great shirts, and set the other one aside for a future dress. The shirts each cost $3.99, and then I bought a quarter yard of blue fabric for the waistband for $.49 at my local fabric store. I used my pattern from the 90-minute shirt that I made her a while ago to estimate the size. The dress itself came out the perfect size. I changed the pattern for the dress a little bit by giving it long sleeves. The sleeves turned out a little bit too tight though. I could barely get her arms into them. Luckily, That was a pretty easy fix too. There is one extra seam on the underside of the sleeve, but no big deal.


photo

photo

To go with the dress I made these ruched leggings (also from Made). They were really easy! I just love the buttons on the bottom. I only used three buttons because these are much smaller than the pair that Dana made.

photo

The funny thing is that now if you ask her who made her anything in the house her reply is always "Aunt Laura."

It is hard to believe that this day was 2 years ago already. . .

photo

photo

And today we make a pretty cute niece aunt pair!

photo

photo

-Laura

Monday, January 3, 2011

I'm Back. . .

You may have noticed that all of the posts lately have been from Meghan. . . Sorry for my recent absence. I have been so busy with my masters classes that I have not had much spare time. I guess that maybe I am a summer, winter break, and spring break blogger at least until next year.

Anyway, I have a project to share. My niece Mary got a new baby doll for her birthday recently. This is a side note, but with everything being manufactured in China these days my sister wanted to find a doll that was made in America. She could only find one company that still manufactures their dolls in America. Interestingly, the dolls come in parts and need to be assembled by the owner. It turned out that the doll was very easy to put together, and she was able to choose from many different face and body styles to personalize the doll. Here is what she looked like when she was done.

photo


Hmmm, something is missing... She needs clothes! She had one outfit that my sister found for her around the house, but part of the fun of a new doll is changing her clothes. So for Christmas I made her some new clothes. I found this vintage pattern on sale at my local sewing store for only $1. You can't beat that!

I was hoping to make a few more items, but I only had time for the slip and diaper cover, a dress, and the jacket with the matching bonnet. They all turned out pretty well.

photo

photo

I love green, but when I choose the fabric for the dress I did not even think about the fact that Lulu has beautiful green eyes. A happy coincidence!

photo

photo

I think that the jacket is my favorite. It is so elegant.

photo

photo

photo

The pattern also came with three different doll sizes which is nice, because now I can make clothes for any future dolls too.

Stay tuned because I have a few more projects to share. Maybe I can get them posted by this weekend? I hope everyone had a great holiday!!

- Laura

Friday, October 29, 2010

Hhappy Hhalloween Hhenry!

Here is the simple project I talked about last week. Ok, ok I know that it is not quite Halloween themed, but it is a little bit related. A while back Meghan mentioned that Henry sometimes refused to wear his underwear (he is potty training). She suggested that maybe she should make him some h underwear because he always wants to wear his h shirt. So I beat her to it.

photo

The project was easy. I bought a package of boys underwear from target. I was amazed how hard it was to find little kids underwear that do not already have designs or cartoon characters on them.

photo

Next, I printed out some large h's from my computer. I pinned them to an old t-shirt and cut them out. Then I pinned them to the back of the underwear and sewed them on using a zigzag stitch.

photo

My personal favorite are the black skull pair with the orange letters. Very halloweeney.

photo

photo

You could do this with pretty much any letter, although some would be a little bit tougher to sew on than others.

photo

photo

-Laura

Sunday, October 24, 2010

Halloween Costume

photo

This week we are featuring some Halloween related projects. This is Mary's Halloween costume in progress.

My sister and I planned to work together to make this costume for my niece. However, when she came over to work on it I did not end up doing much except supplying some materials and chatting her ear off. So I cannot take much credit for this one.

When my sister was about two my mom made her a red crayon costume. We thought that it would be cute (and easy) to make Mary a crayon costume this year. We chose Orange because I had a bunch of felt left over from the felt house. You can see the picture of my sister in the early 80's in her costume in the corner of the picture above.

- Laura

Wednesday, September 8, 2010

90 Minute Shirts


 I know that we teased you with this a while back, but we finally got our act together and put together a full post about it. 


I wanted to try the 90 minute shirt tutorial from Dana on Made.  I do not have any kids, so I made one for my niece and one for Meghan's son.  My sister donated some old shirts that she had laying around.  She picked the fish pattern for Mary's shirt.  For Henry I picked the gray and yellow combo, but it seemed a little bit too plain.  A few weeks before I made the shirts I had gone shopping with Meghan.  We saw some cute letter shirts at American Apparel, but they were pretty expensive for children's shirts.  Henry has been really into letters lately, so I thought that H would be the perfect thing to make the shirt a little bit more exciting.


When the shirts were done we all got together for a nice picnic in the park.  Thanks to Meghan for taking some amazing pictures of the day! 


(This ice chest was really weird.  Just sitting in the middle of the field full of ice.  We think there might have been a wedding there the night before.)


(We were close enough to O'Hare International Airport to see big planes flying by.)

Here are my tips for anyone who wants to try the 90 minute shirts.

1.  I do not have a serger.  Dana has instructions for making them without a serger.  As I was sewing on the collars, cuffs, and H's they were looking very uneven and bunchy.  I thought for sure that this tutorial just did not work very well without a serger.  Then I ironed the shirts.  All the bunches and unevenness came right out!  So my tip is to not get discouraged.  Try ironing the shirt and see how it looks.  Chances are it will look much better after a simple ironing.


2.  I found that Mary's shirt, which was about a 24 month size came out with better proportions than Henry's.  Henry's shirt was about a 3T.  The body of his shirt came out fine, but the neck was a little bit too large and loose.  I figured out that the key to a well fitting neck is the ratio of the size of the sleeve hole compared to how high the shoulder/neck pieces come (check the pattern on made and hopefully you will know what I mean).  I used the same 24 month onesie as a pattern for both shirts.  I made Mary's a little bit shorter and thinner, and Henry's a little bit longer and wider.  Mary's shirt had narrower sleeves and therefore sleeve holes.  This caused the shoulder parts to wrap farther around the sleeve on Mary's shirt.  This holds the neck in place.  Henry's shirt on the other hand had a larger arm hole, so the shoulder wrapped around less.  Therefore, his shirt does not hold as tightly at the neck.

Happy sewing!

- Laura

Wednesday, August 11, 2010

Mei Tai Baby Carrier

First, I would like to apologize for the poor quality of these photos.  I took them over a year ago, before we started our blog.  


Meghan has a really nice Mei Tai carrier that she bought online from a woman who sews them.  My sister tried it out once and really liked it.  I wanted to get her one for her birthday, but unfortunately it was a little bit out of my price range.  I think that Meghan paid around $120 for hers.  So I thought that if the woman selling them online could sew them so could I!


Meghan was kind enough to measure every last side, corner, and angle of her carrier so that I could make one with the same dimensions.  After calculating how much fabric I would need I went to the store to pick it out.  This was actually the hardest part!!  I think I spent hours at the fabric store.  My sister has one daughter, but I still wanted to make it gender neutral.  I figured that made it more versatile for future children.  I also was not sure if my brother in law would want to be seen in public wearing a bright pink carrier!  I came up with dark brown and baby blue solids because they look nice together, and those were my sister and brother in law's wedding colors.  I did not want it to be too boring, so I added the Chicago skyline to each side.  My sister and brother in law are both architects.  (I know, I know, this is the same as the iPhone case, but I actually made this one first).


It turned out better than I thought it would, but it was pretty time consuming.  Someday I plan to make another one, so when I do I will make a tutorial to go with it!


- Laura

Thursday, July 29, 2010

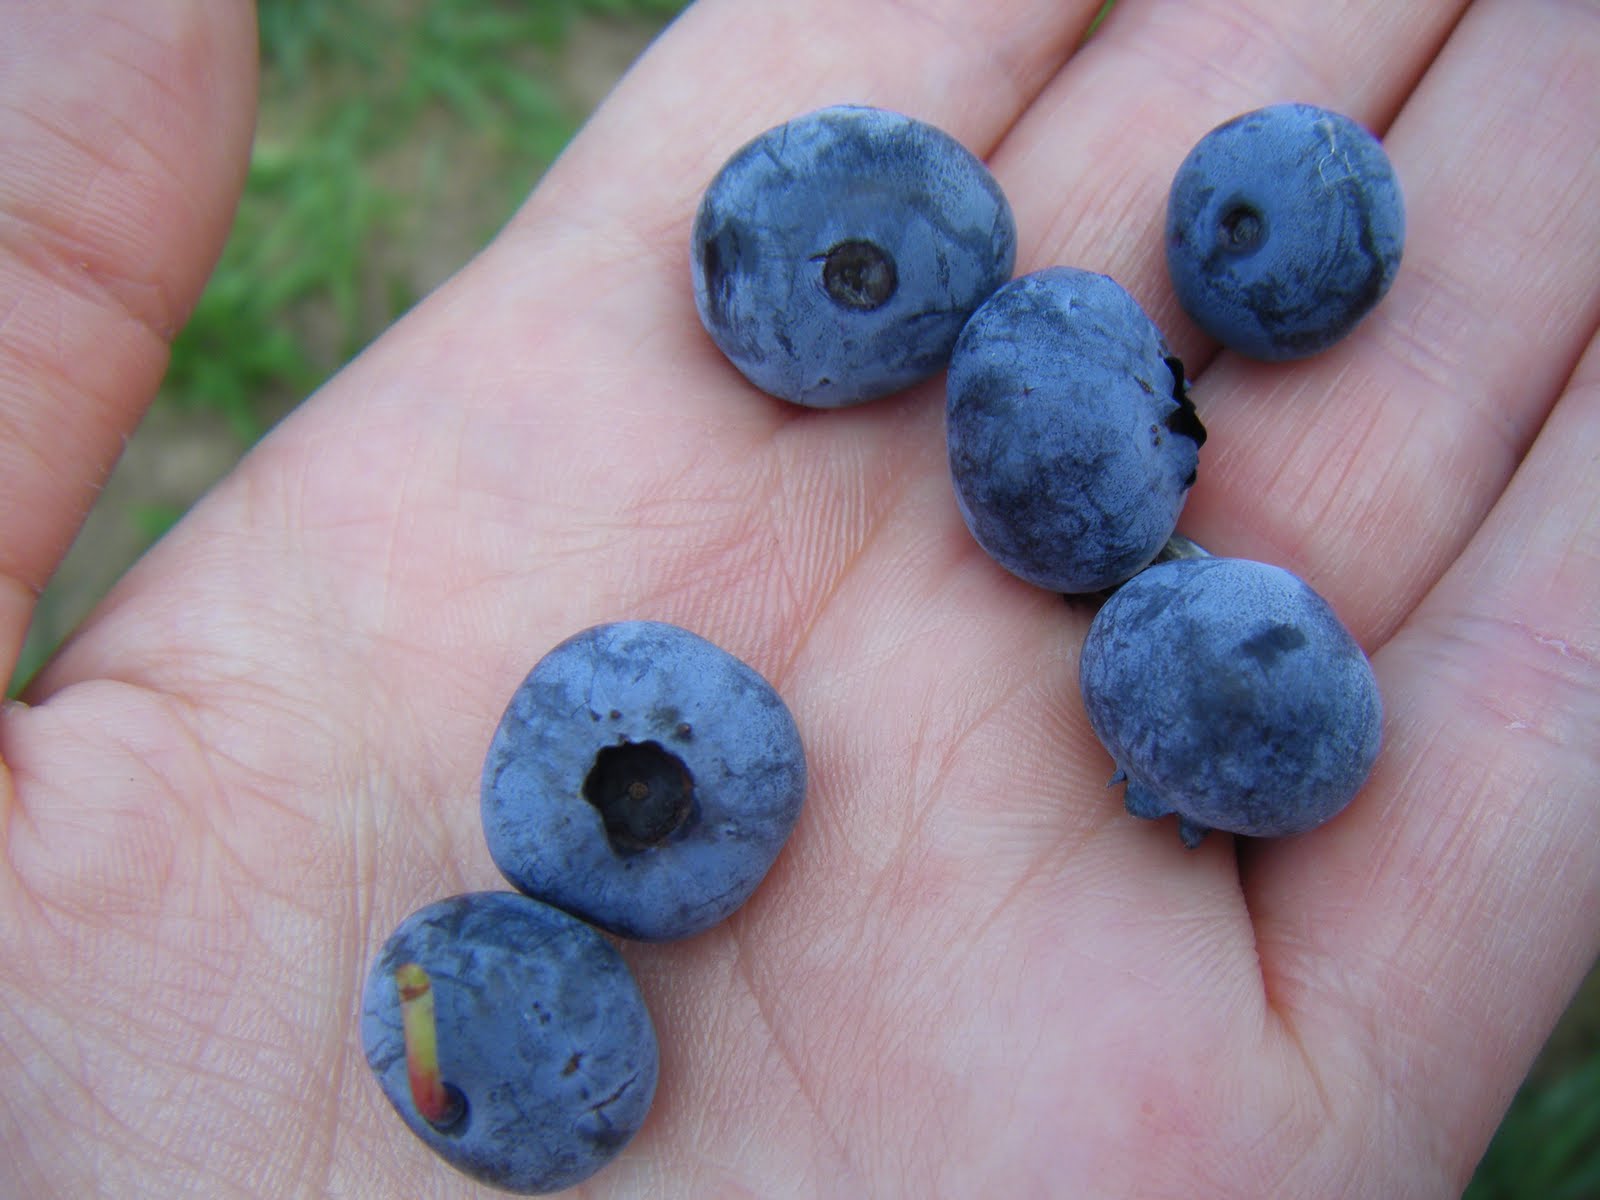
Blueberry Picking

My sister found a blueberry farm about an hour away from us.  She invited me to come with her and my niece to pick some blueberries.


It was a lot of fun!  Or at least it would have been if the heat index was not 105!

We arrived at the farm and there was a small building where you picked up a bucket and caught a hay ride type trailer out to the berry farms.  The buckets were lined with plastic bags so that you could just take the bag out of the bucket and take it right home when you are done.  Pretty clever!

Mary picked out a bucket. 
Posed for a quick picture.
And headed for the hay ride. 

I was not even sure what kind of plant blueberries grew on.  Turns out it is a tall bush.  I was surprised how many berries grew on each bush!


We spent a few hours picking berries.


Mary helped for a while.


But then was caught red handed eating berries out of the bucket!


After we picked the berries we returned to the same building to have our berries weighted, pay for them, and return our buckets.


I think we all felt like Mary by the end of the day.  Hot, sweaty, and tired! (Notice how wet her hair looks, that is all sweat.)  But we got about 5 lbs of berries which is enough for us to freeze some to eat later.  Blueberries are super expensive during the winter! 


We felt a lot better after we cleaned up in the bathroom.  Then we got ready to head home.


I guess that we wore her out!


 - Laura