One whole wheat switch that I have been resisting is pasta. In the past whole wheat pasta has always been too bland and heavy for me. Just not the right texture.
Anyway, I had been resisting the change, but I recently bought some organic 100% whole wheat pasta that claimed to be light tasting. It actually was much better than I remember the whole wheat pastas of the past being! But just in case I was planning on trying to add flavor to the dish in other ways. I also like to try to maximize my vegetable intake at most meals.
My husband does not like as many veggies as me, so I cooked the veggies separately and added them to the sauce at the end. I put browned ground beef and sauteed mushrooms into all of the sauce. Then I also added sauteed yellow squash, onion, and red pepper to my sauce. I topped it off with some Parmesan cheese and some fresh organic basil from my herb garden, and it turned out to be a delicious dinner!
- Laura
Showing posts with label cheese. Show all posts
Friday, October 1, 2010
More Whole Wheat
Labels:
basil,
cheese,
dinner,
herb garden,
onions,
organic,
vegetables,
whole grains,
whole wheat pasta
Wednesday, September 15, 2010
Broccoli is yummy in my mouth
Ok, so I stole the title of this post from my son. He is in a broccoli-obsessed phase. He loves it. So I thought I would try to combine the whole grains + some broccoli for dinner this week.
I got the recipe from 101 cookbooks, an amazing food blog. Go look around because it's awesome.
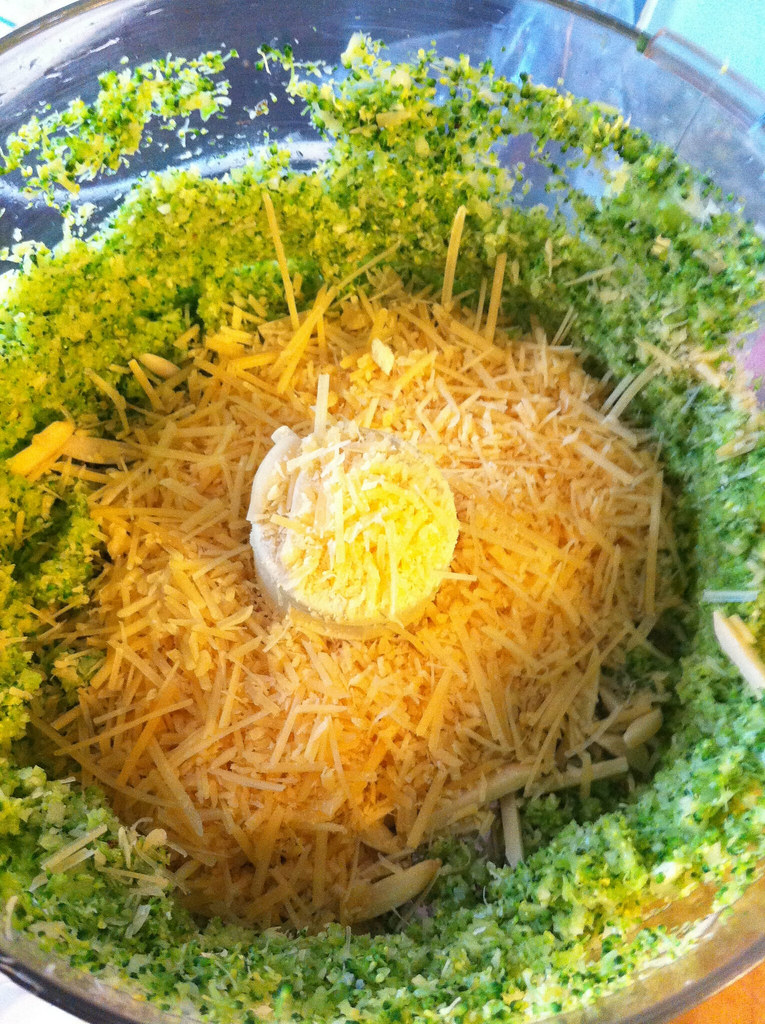
So, again, camera is out of commission and my iPhone takes really weird pictures. Whites are yellows and greens are BRIGHT and yeah, just a hot mess. But, I wanted to show you it while I was cooking, so I am still including them!
1. First step is to cook the quinoa. It's one cup of quinoa to 2 cups of water. Just put them on the stove on medium until it absorbs the water. That's it. It will get "fluffy" which is funny but it really does. Then the little grains will open up and grow tails and they will become delicious. You should rinse it first, but I can't rinse it without losing tons of the grains, so I don't rinse that well.
(1a, for children: Get a piece of foil and drop the grains onto the foil. Then get them wet and drop them. The sounds are different and surprisingly loud for such a little thing. My son really enjoyed doing this. He would drop them onto the foil, then a towel and back and forth.)
2. Steam the broccoli for a few minutes. About 4-6 cups of broccoli, I didn't measure.
3. Take half of that broccoli along with a few cloves of garlic, 1/4 cup cream, 1/4 cup olive oil, some almonds and some parmesean and make a pesto with that in the food processor. (I feel like I need to defend the fact I use white parmeasean cheese, not yellow. It's the lighting!)
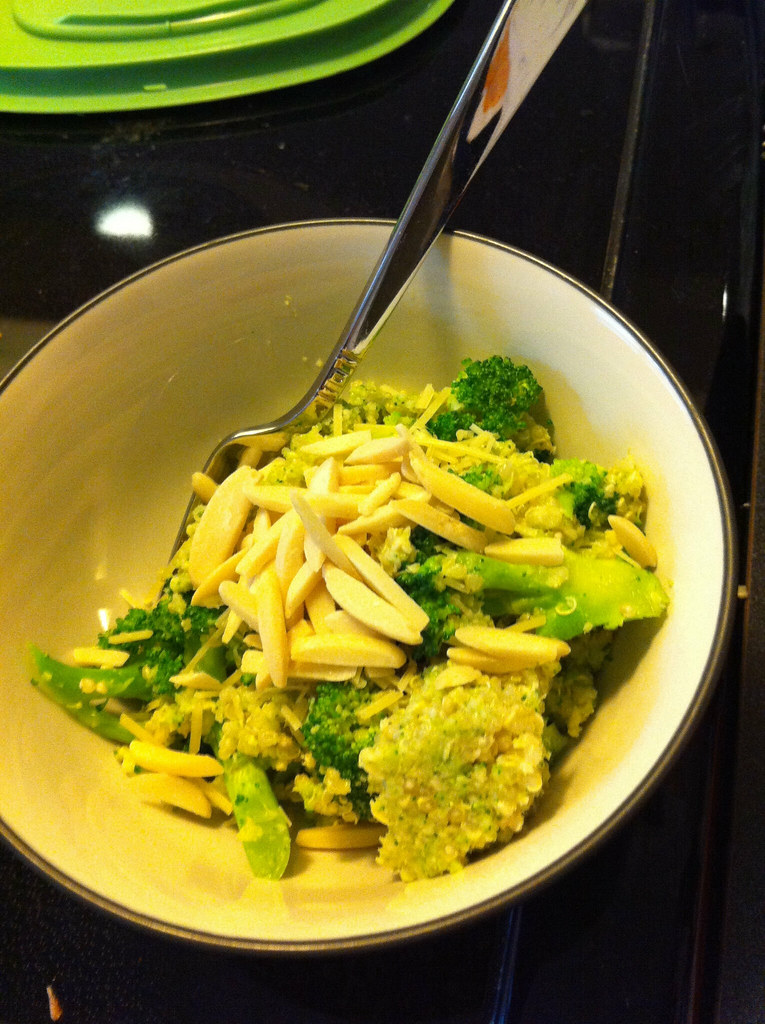
4. Dump the pesto and the remaining broccoli onto the quinoa, top with cheese and olives and enjoy! It was a fun dish to make with my kid and he really liked it. Because "mmmmm, broccoli is yummy in my MOUTH!

-Meghan
I got the recipe from 101 cookbooks, an amazing food blog. Go look around because it's awesome.
So, again, camera is out of commission and my iPhone takes really weird pictures. Whites are yellows and greens are BRIGHT and yeah, just a hot mess. But, I wanted to show you it while I was cooking, so I am still including them!
1. First step is to cook the quinoa. It's one cup of quinoa to 2 cups of water. Just put them on the stove on medium until it absorbs the water. That's it. It will get "fluffy" which is funny but it really does. Then the little grains will open up and grow tails and they will become delicious. You should rinse it first, but I can't rinse it without losing tons of the grains, so I don't rinse that well.
(1a, for children: Get a piece of foil and drop the grains onto the foil. Then get them wet and drop them. The sounds are different and surprisingly loud for such a little thing. My son really enjoyed doing this. He would drop them onto the foil, then a towel and back and forth.)
2. Steam the broccoli for a few minutes. About 4-6 cups of broccoli, I didn't measure.
3. Take half of that broccoli along with a few cloves of garlic, 1/4 cup cream, 1/4 cup olive oil, some almonds and some parmesean and make a pesto with that in the food processor. (I feel like I need to defend the fact I use white parmeasean cheese, not yellow. It's the lighting!)
4. Dump the pesto and the remaining broccoli onto the quinoa, top with cheese and olives and enjoy! It was a fun dish to make with my kid and he really liked it. Because "mmmmm, broccoli is yummy in my MOUTH!
-Meghan
Labels:
broccoli,
cheese,
quinoa,
recipes,
side salad,
vegetarian,
whole grains
Friday, June 18, 2010
Nasturtium salad
I love looking at decorative flower gardens but I cannot justify the time and water used to maintain them without getting something else back. So in my decorative area I plant edible flowers. Anything in the vegetable & herb section of the greenhouse works for this. Different seasons have different flowers and a lot take a bit longer to get to the flowering stage.
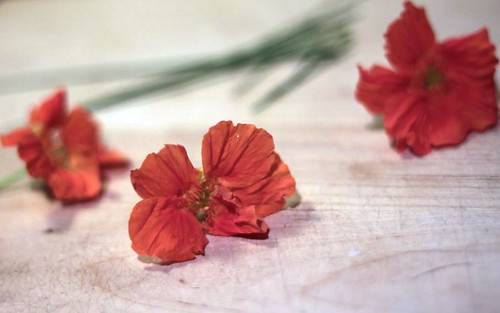
My favorite edible flower is hands-down nasturtium. They grow quickly and with bad soil and little water. The leaves and flowers are edible and they are just so pretty!
One of the easiest ways to make a delicious and beautiful salad is to add these flowers. Whenever I have to take a salad dish to a gathering I make a garden salad with some nasturtium blooms on it.
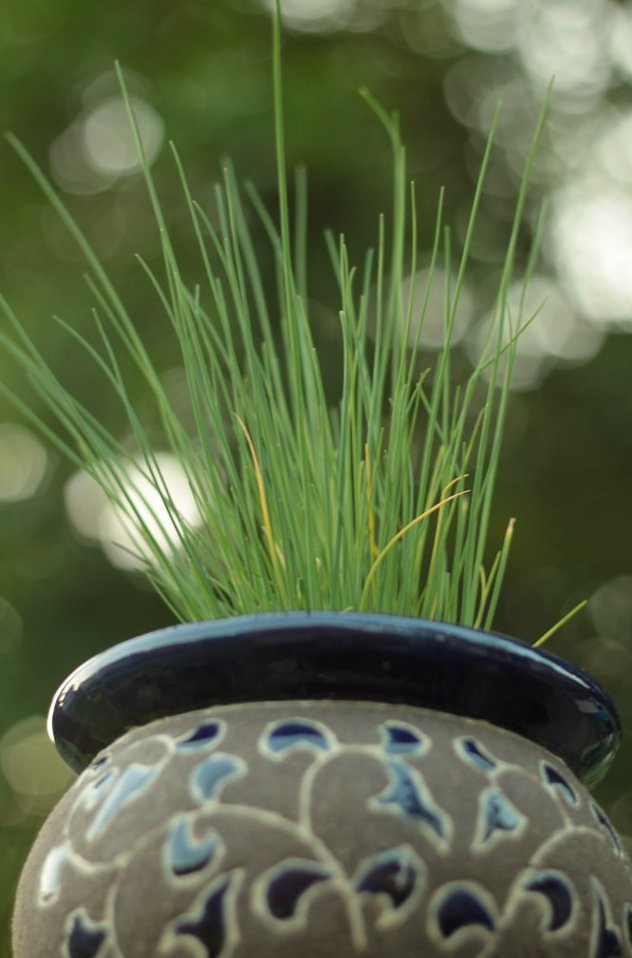
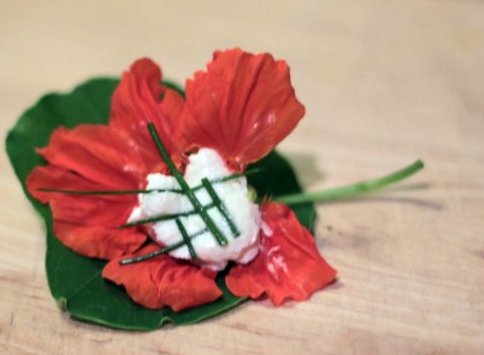
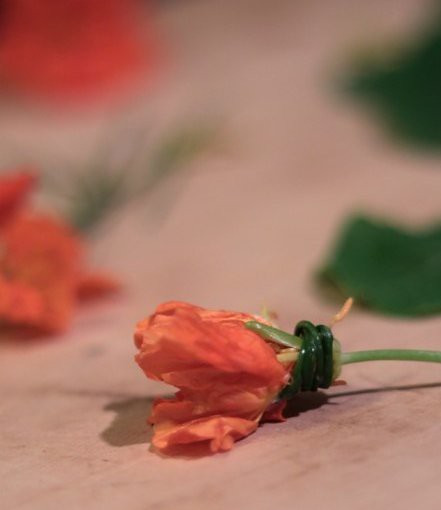
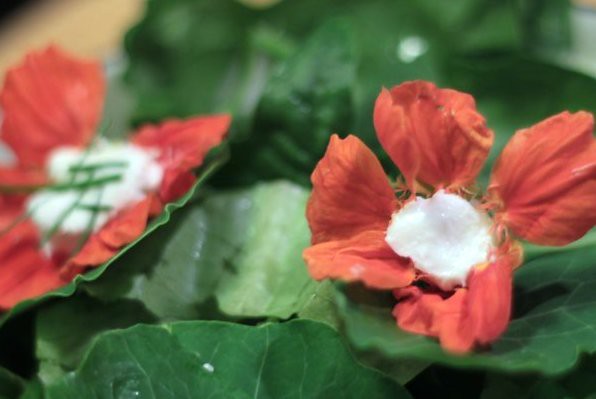
I like putting a bit of cheese into the middle of the bloom and adding some chives by wrapping them around, laying them on top or dumping them all over. These chives are now three years old and still going. In zone 5! They are very hardy and over-winter in my dark garage.


My favorite edible flower is hands-down nasturtium. They grow quickly and with bad soil and little water. The leaves and flowers are edible and they are just so pretty!
One of the easiest ways to make a delicious and beautiful salad is to add these flowers. Whenever I have to take a salad dish to a gathering I make a garden salad with some nasturtium blooms on it.
I like putting a bit of cheese into the middle of the bloom and adding some chives by wrapping them around, laying them on top or dumping them all over. These chives are now three years old and still going. In zone 5! They are very hardy and over-winter in my dark garage.
In this case I used mascarpone cheese because that buttery taste went well with the older greens that I cut from my garden.
Seriously, you can use a utensil but I used my fingers. It didn't take long and you can be a little bit creative.
Labels:
cheese,
edible,
flower,
gardening,
herb garden,
nasturtium,
produce,
salad,
summer foods
Subscribe to:
Posts (Atom)